Blog Sidebar
Enterprise Modelling Blog Posts.
Installation Guide.
Informative.
Project transformations.
How to discussions.
Ease of being.
Installation Guide.
The Enterprise Modelling App encompasses customised add-ons bringing you a shareable Enterprise Architect repository accessible directly from © MS Office. Download the available add-ons and follow the instructions below to install.
Step 1
After download, navigate to your download folder and double click the downloaded Setup.exe file to begin installation.
You will be presented with the standard Windows style Setup Wizard. Choose the Accept button to continue.
Step 2
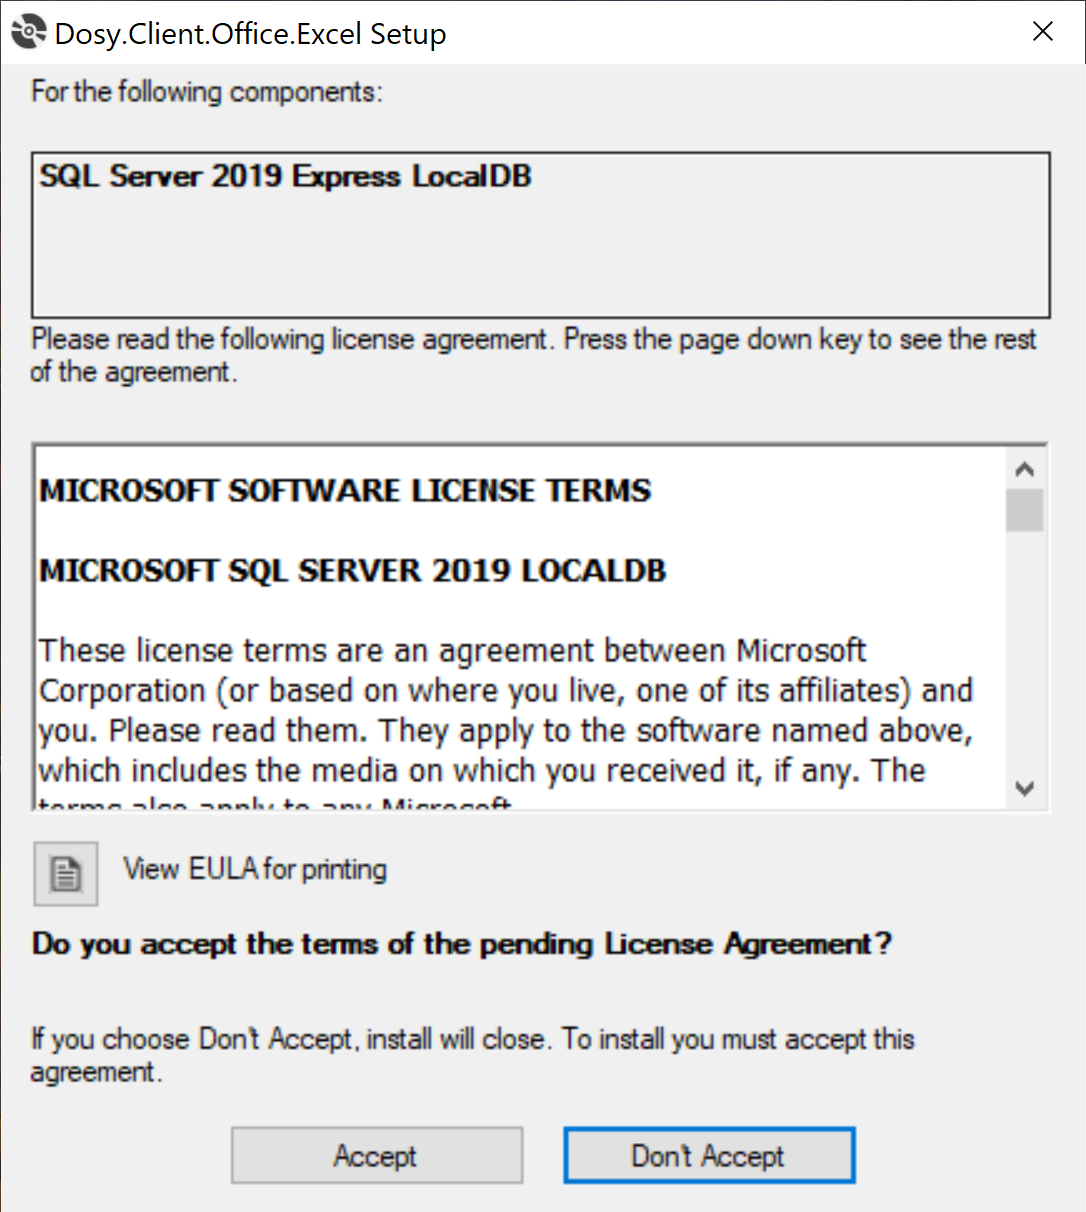
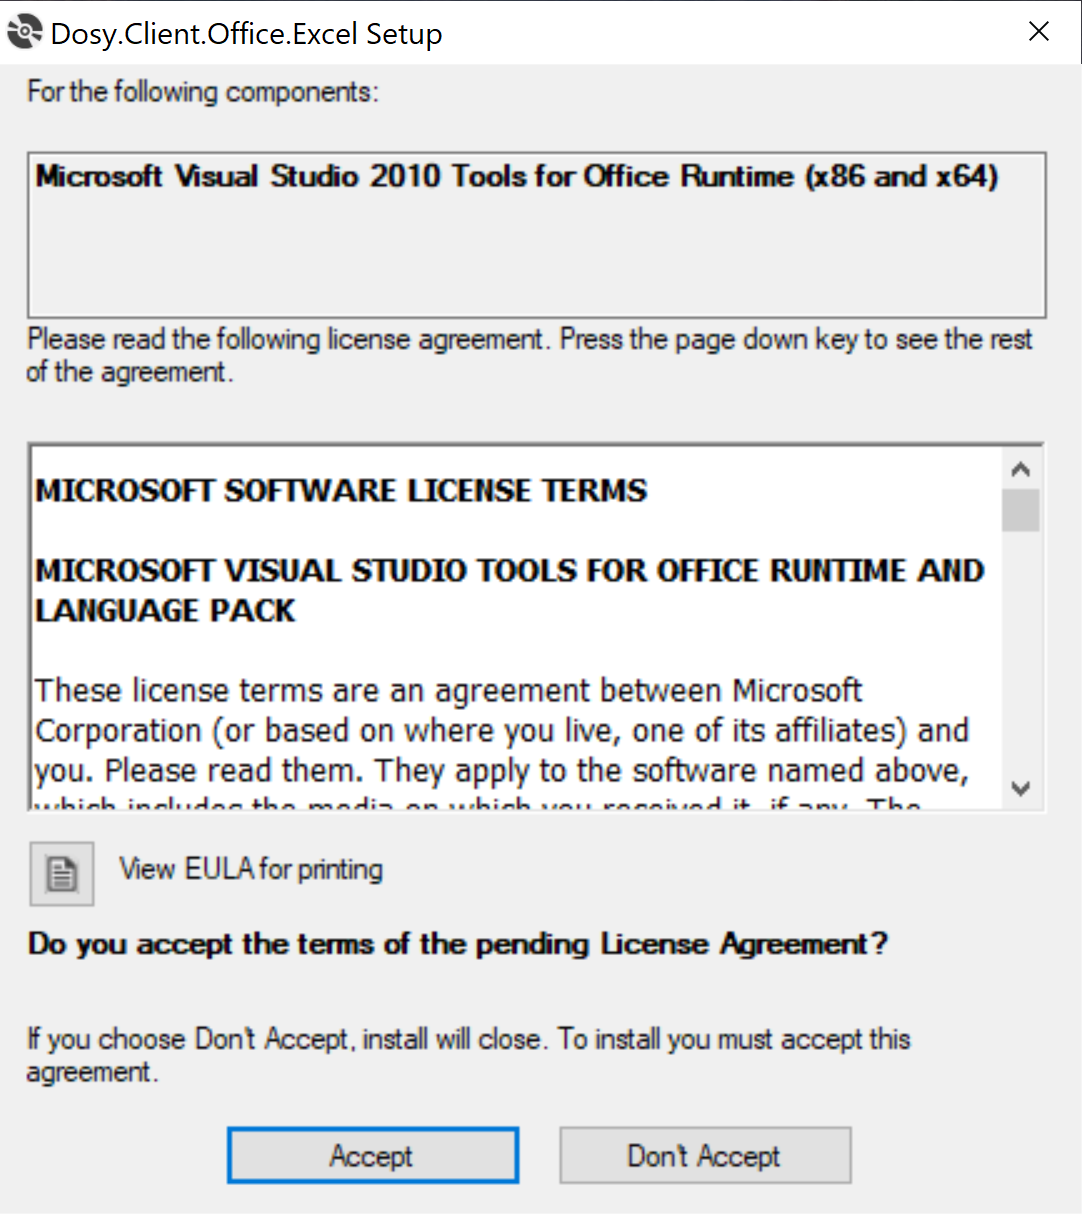
Continuing the standard Windows style Setup Wizard. You will be presented with options to install components.
SQL Server LocalDB - This feature provides local storage for your files and settings.
Office Runtime - This feature provides a runtime environment inside Office Tools to host The Enterprise Modelling App repository and provides interaction in Office Tools for features such as dynamic diagramming in © Visio, Dynamic Project file generation in © Project and © Excel.
Step 2
Step 3
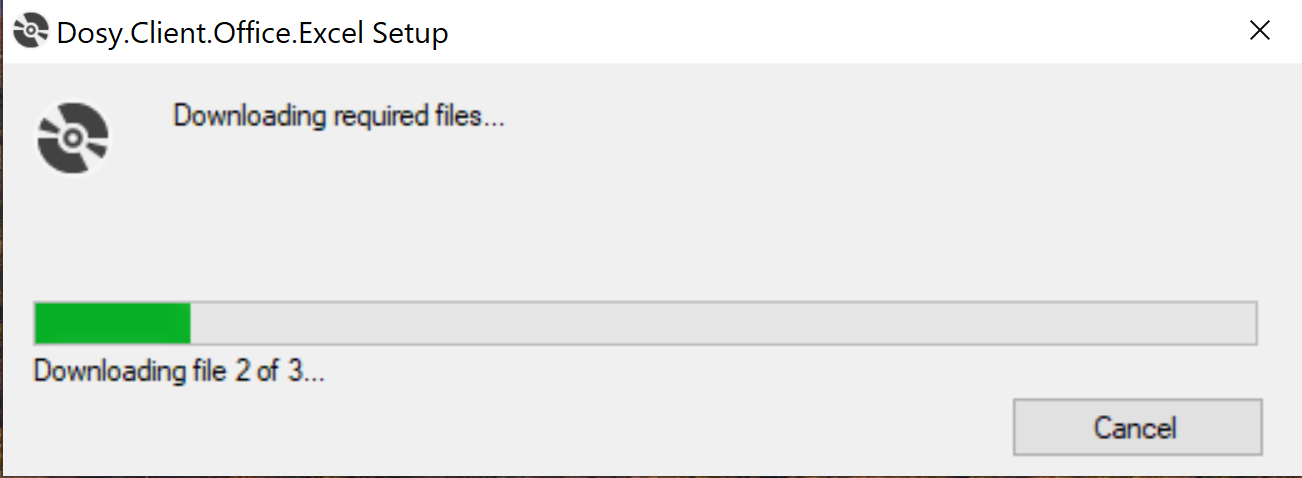
The latest installation media will be downloaded from the vendor. This ensures the latest versions inclusive of support and security updates are installed.
Step 3
Step 4
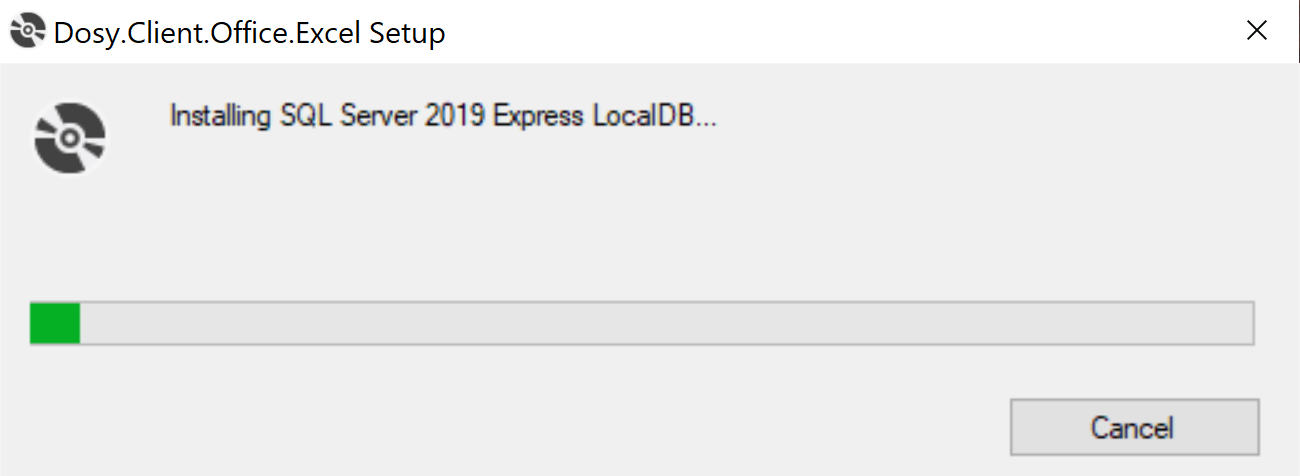
After download, the installation program takes care of installing it.
Step 4
Step 5
Once the pre-requisites are installed, the add-on will be installed into your MS Office installation.
This screen is typical. You can see the stamp of approval given to Enterprise Modelling for installation. This proves authenticity the origin is from a trusted source as per the certificate details (accessible through the More Information link).

Step 5
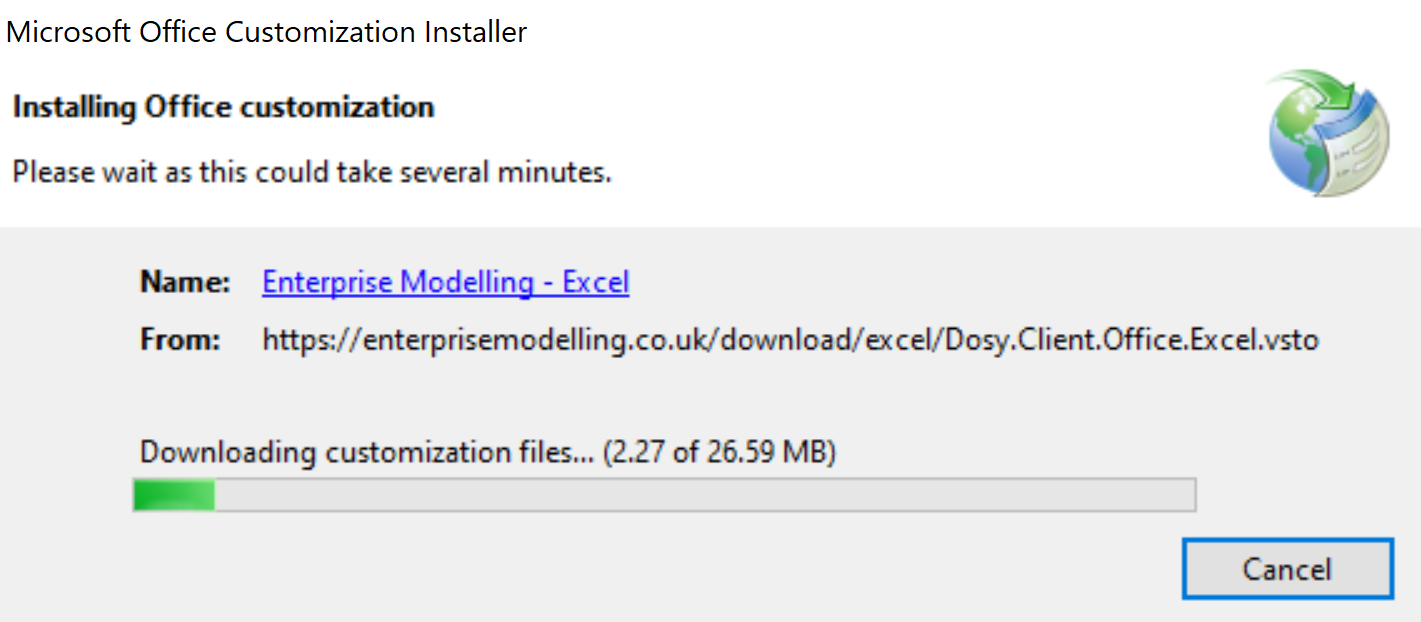
Step 7
The latest versions are downloaded and installed. The installation will also take care of checking and ensuring your are always running the latest version(s) available.
Step 6
Step 8
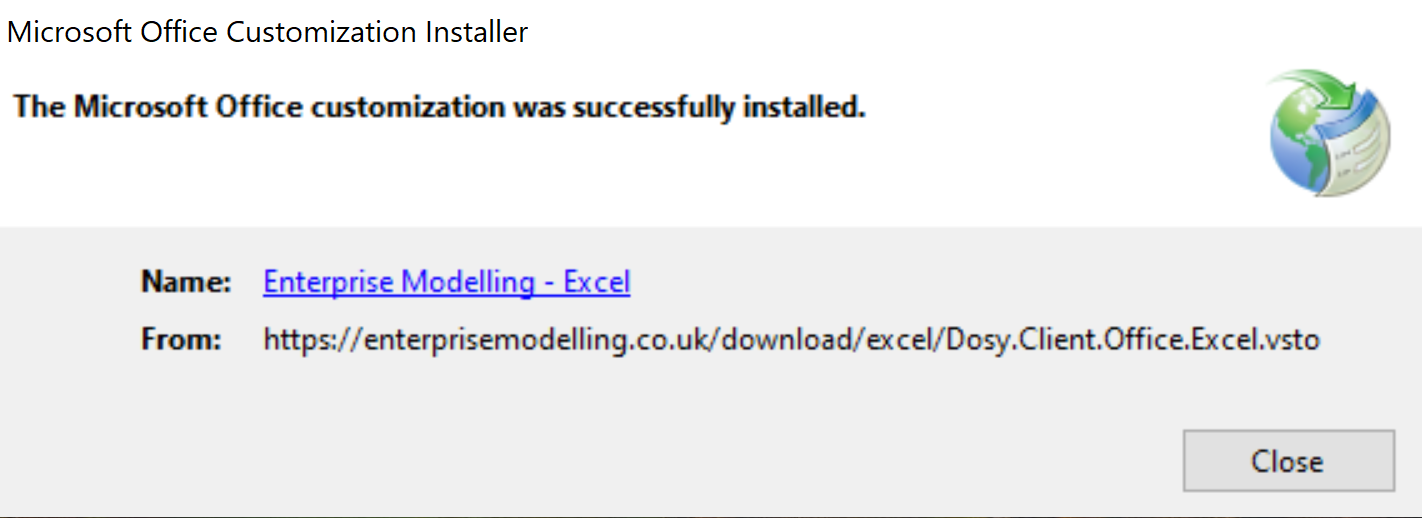
Installation is Complete! Use your Office tools as per normal. You will notice a new Enterprise Modelling ribbon item available in the MS Office Products that you choose to install.
Step 7
Installation Complete
Following successful installation you will find your supported Office products contain a new Enterprise Modelling Application ribbon item.
You access everything to manage your Portfolio(s) directly through your MS Office application(s) making it super accessible.

The Enterprise Modelling App - Office Ribbon Item.
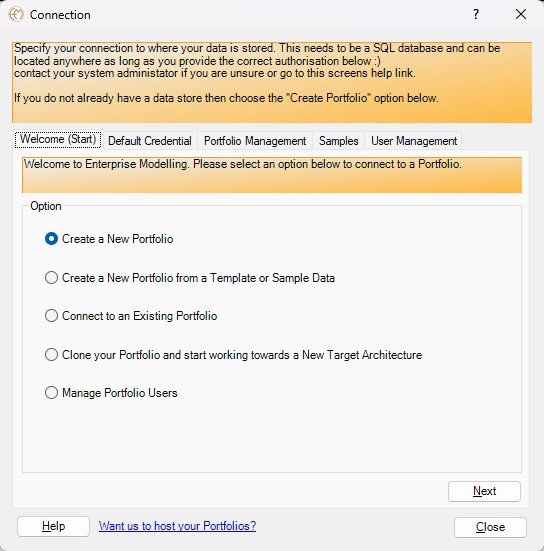
Connection
When navigating to the Enterprise Modelling Office ribbon for the first time, the only available option is 'Connection'. Continue through to the Connection Page to set your Portfolio data source.
Data Options
We provide complete flexibility on where you want to store your data. Check out our standard guides on Getting Started for more information.
-
Create a New Portfolio
This option assumes that you want to create a new Portfolio. -
Create a New Portfolio from a Template or Sample Data
Choose this if you want to create a new Portfolio from a downloaded Turnkey configuration. -
Connect to an Existing Portfolio
This option is for users who are connecting to an existing shared Portfolio. You will need to find connection details from your system owner or administrator of The Enterprise Modelling App.
Data Options
Data Source
Regardless of the option chosen above you will need to specify your desired data source.
Server Name
-
The default Server Name is
'(localdb)\MSSQLLocalDb'. This option provides a local data source for single users. - For a shared Portfolio repository, specify a valid SQL Server address. This can be either OnPrem or Cloud (the choice is yours, or maybe your system administrators).
- Contact Us if you would like Enterprise Modelling to host for you.
Database Name
- If you are creating a New Portfolio then select the 'New Model' checkbox.
- If you are connecting to an existing Portfolio then you will need your System Owner or Administrator to provide the database name to connect to. Or get this setting from a working colleagues computer.
Credentials
We recommend you use Windows Auth, however if you prefer you can specify a valid SQL Server Username and Password. Check out the Data Storage Credentials page for more information.
Desired Data Source
Show Me
Watch the YouTube video to see how easy it is to get up and running.
Download
Below are a series of links to download Enterprise Modelling.
We would welcome your feedback! Contact Enterprise Modelling and we'll keep you posted with every update and reach out to offer assistance on your journey.
Download
Below are a series of links to download Enterprise Modelling.
We would welcome your feedback! Contact Enterprise Modelling and we'll keep you posted with every update and reach out to offer assistance on your journey.